
Are you ready to embark on a magical art journey through the enchanting world of Harry Potter? Whether you’re a seasoned artist or just starting out, capturing the essence of the Boy Who Lived and his magical universe can be an exciting creative challenge.
In this comprehensive guide, we’ll explore the art of drawing Harry Potter, from mastering his iconic features to bringing Hogwarts to life on paper. So grab your wand (or pencil), and let’s dive into the wonderful world of Harry Potter fan art!
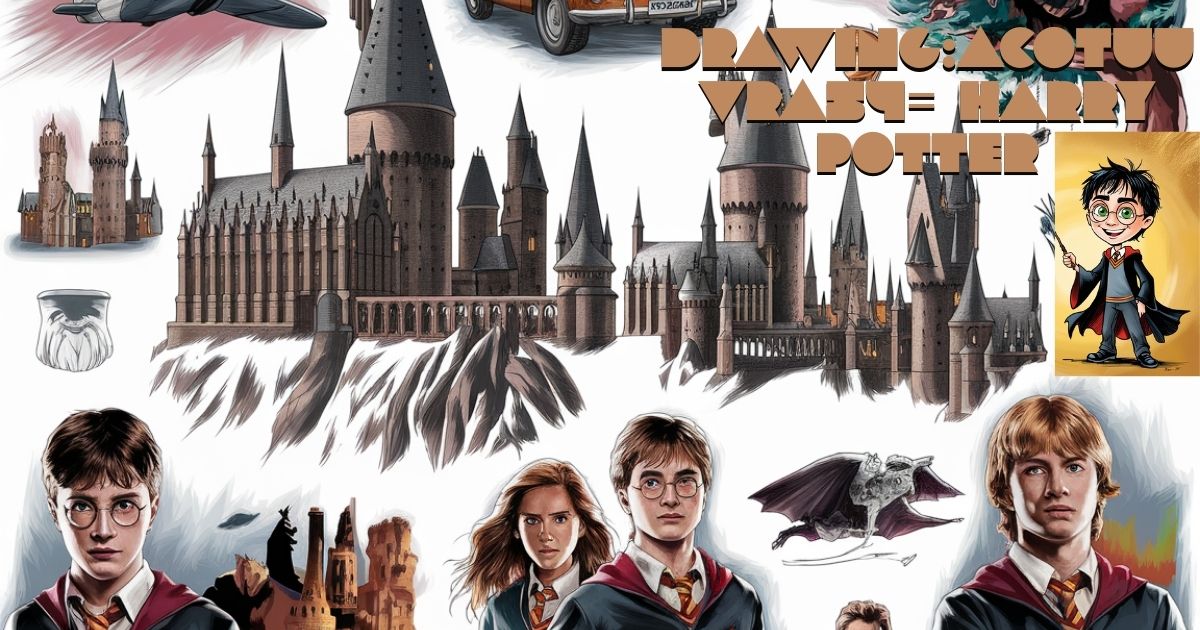
Drawing:acotuuvra54= harry potter: The Basics of Drawing Harry Potter
Let’s start our artistic adventure by focusing on the star of the show – Harry Potter himself. Drawing Harry isn’t just about recreating a character; it’s about capturing the spirit of a young wizard who’s captured the hearts of millions.
Mastering Harry’s Iconic Features
When it comes to drawing Harry Potter, there are a few key elements that make him instantly recognizable:
- Round glasses: These are perhaps Harry’s most defining feature. They frame his eyes and give him that endearing, bookish look.
- Lightning scar: The mark that made him famous – a jagged line on his forehead that tells a story all its own.
- Messy black hair: Harry’s perpetually disheveled hair adds to his charm and gives artists a chance to play with texture.
- Wide, curious eyes: These windows to Harry’s soul reflect his wonder at the magical world around him.
- Gryffindor uniform: The scarlet and gold robes, tie, and crest that show Harry’s house pride.
To start your Harry Potter drawing, begin with a simple oval for the head. Then, add guidelines for the features. Place the round glasses slightly above the center of the oval, with the lightning scar peeking out from beneath Harry’s bangs. Remember, Harry’s hair isn’t just messy – it’s practically defying gravity!
"It's not just about drawing what you see, but capturing the essence of who Harry is," says renowned Harry Potter illustrator Mary GrandPré. "His curiosity, his bravery, his kindness – all of that should shine through in your art."
Bringing Harry to Life: Expressions and Poses
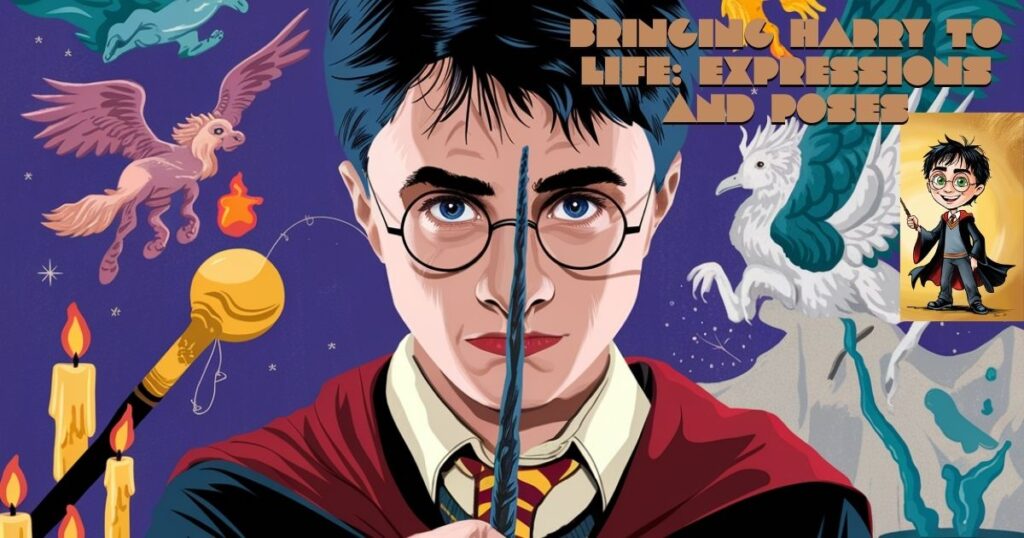
Once you’ve got the basics down, it’s time to breathe life into your Harry Potter drawing. Consider different expressions and poses that capture Harry’s personality:
- A determined look as he faces a challenge
- A mischievous grin while planning an adventure with Ron and Hermione
- A focused expression as he casts a spell
Remember, Harry’s body language can tell a story too. Is he confidently wielding his wand, or nervously mounting a broom for his first Quidditch match?
The Gryffindor Uniform: Details Matter
Harry’s Gryffindor uniform is a crucial part of his character design. Pay attention to these details:
- The robe: Flowing and slightly oversized on young Harry
- The tie: Striped with Gryffindor colors (scarlet and gold)
- The wand: Usually gripped in Harry’s right hand
- The Gryffindor crest: Featuring a lion, placed on the left side of the robe
When drawing Harry’s uniform, use light, sketchy lines for the folds in the fabric. This will give your drawing a sense of movement and realism.
Drawing Hogwarts: The Magical Setting
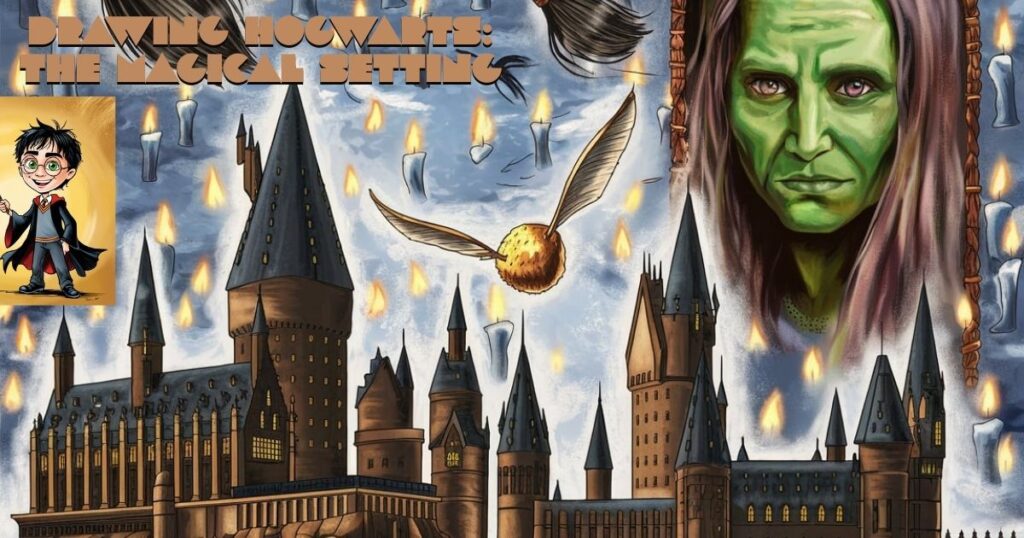
No Harry Potter artwork is complete without the majestic backdrop of Hogwarts School of Witchcraft and Wizardry. This ancient castle is as much a character in the story as any witch or wizard.
Sketching the Castle’s Silhouette
Start with the basic shape of the castle:
- Draw a horizontal line for the ground.
- Sketch the main structure with several tall, pointed towers.
- Add smaller towers and turrets of varying heights.
- Include the sloping roofs and battlements.
Adding Architectural Details
Now, let’s bring Hogwarts to life with some magical details:
- Arched windows: Sprinkle these throughout the castle walls.
- Grand entrance: A large, imposing doorway welcoming students.
- Flying buttresses: These architectural features add a Gothic touch.
- Bridges: Connecting different parts of the castle.
Surrounding Elements
Hogwarts isn’t just a castle – it’s part of a larger, magical landscape:
- The Great Lake: Home to the giant squid and merpeople
- Quidditch pitch: Where Harry first discovered his flying talents
- Forbidden Forest: A dark and mysterious wood filled with magical creatures
Creating Depth and Perspective
To make your Hogwarts drawing truly magical, consider these tips:
- Use lighter lines for distant parts of the castle.
- Add more detail to the foreground elements.
- Incorporate atmospheric perspective by making far-off areas slightly hazier.
Click For More Information : Animated:xqhhhbn4nc8= happy birthday gif
Table: Hogwarts Drawing Checklist
| Element | Details to Include |
| Main Castle | Tall towers, battlements, grand entrance |
| Windows | Arched, varying sizes |
| Landscape | Great Lake, Quidditch pitch, Forbidden Forest |
| Atmosphere | Clouds, maybe a full moon or flying owls |
Adding Magical Details to Your Harry Potter Drawing
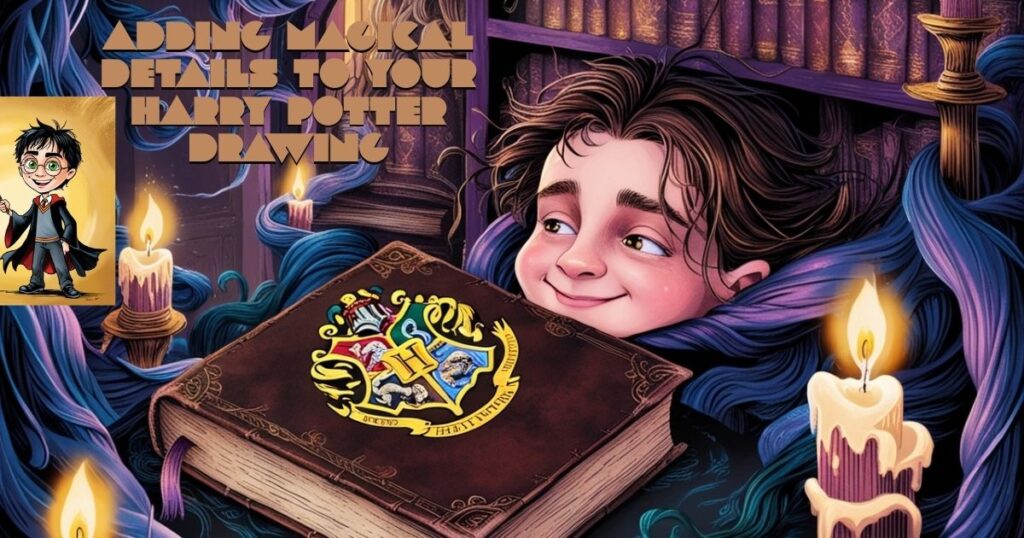
Now that we’ve covered the basics, let’s sprinkle some magic into our artwork!
Wands and Spellcasting Effects
A wizard’s wand is their most important tool. When drawing Harry or other characters casting spells:
- Show the wand pointed outward, gripped firmly
- Add magical sparks or streams of light emanating from the wand tip
- Use different colors for various spells (e.g., red for Expelliarmus, blue for Patronus)
Magical Creatures
The Wizarding World is full of fantastic beasts. Consider adding:
- Hedwig, Harry’s loyal snowy owl
- A majestic Hippogriff
- Mischievous gnomes in the garden
Enchanted Objects
Don’t forget the magical items that make the world of Harry Potter so enchanting:
- The Golden Snitch, fluttering its wings
- The mysterious Marauder’s Map
- A glowing Time-Turner
Tips for Drawing Different Harry Potter Characters
While Harry is the star, his friends and foes are equally important in bringing the Wizarding World to life.
Hermione Granger
- Bushy, wavy hair that seems to have a mind of its own
- An intense, focused expression
- Often depicted with a book in hand or raising her hand to answer a question
Ron Weasley
- Vibrant red hair and a smattering of freckles
- A lopsided grin or a look of bewilderment
- Slightly taller than Harry, with a lankier build
Draco Malfoy
- Sleek, white-blond hair
- A perpetual smirk or sneer
- Proudly wearing Slytherin colors (green and silver)
Remember, each character has their own unique personality. Try to capture this in their expressions and body language.
Common Mistakes to Avoid When Drawing Harry Potter
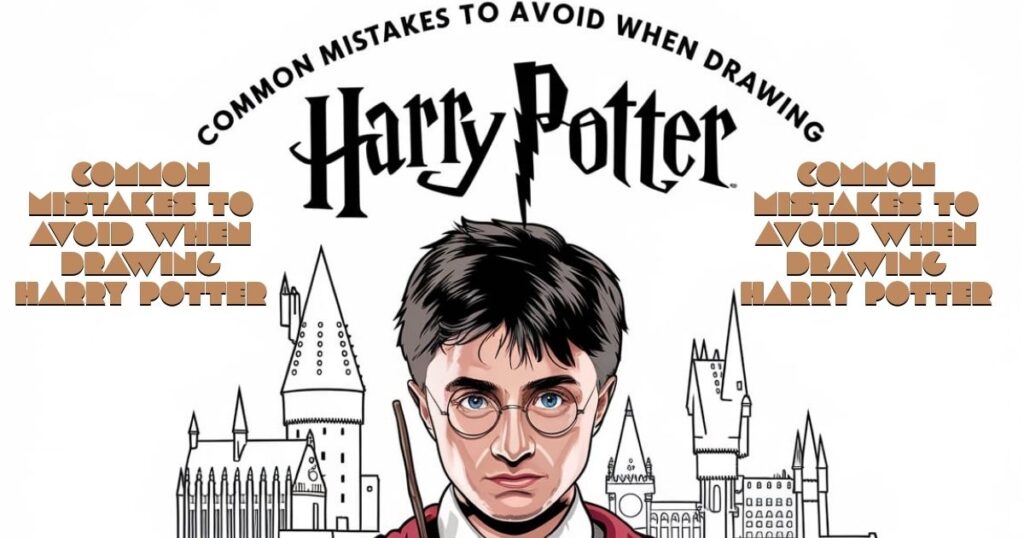
Even the most skilled artists can fall into some common traps when drawing Harry Potter characters and scenes. Here are some pitfalls to watch out for:
- Overlooking proportions: Make sure Harry’s head isn’t too big for his body, or that Hogwarts doesn’t look like a miniature model.
- Inconsistent lighting: If the sun is shining from the left, all shadows should fall to the right.
- Overcomplicating magical effects: Sometimes, less is more when it comes to depicting spells and magical phenomena.
- Neglecting background details: The Wizarding World is rich and detailed – don’t leave your backgrounds bland!
- Forgetting to add personal flair: While staying true to the characters, don’t be afraid to add your own artistic style.
How to Color Your Harry Potter Drawing
Bringing color to your Harry Potter artwork can truly make it pop with magical energy.
Choosing the Right Medium
Consider these options:
- Colored pencils: Great for beginners, offering control and blending capabilities
- Markers: Perfect for bold, vibrant colors
- Watercolors: Ideal for creating a softer, more ethereal look
Color Palettes for the Wizarding World
- Gryffindor: Rich reds and golds
- Slytherin: Deep greens and silvers
- Hogwarts: Warm stone colors with pops of vivid magical hues
Creating Magical Glow Effects
To add that extra touch of magic:
- Use lighter shades around the source of magic (e.g., wand tips, magical objects)
- Gradually blend outward to darker shades
- Add tiny white dots for sparks or stars
Click For More Information: Hongo:zaeuh1rbm2m= Mario
Conclusion: Bringing Harry Potter to Life on Paper
Drawing:acotuuvra54= harry potter is more than just recreating characters and scenes – it’s about capturing the magic and wonder of the Wizarding World. Remember these key points:
- Start with basic shapes and proportions before diving into details.
- Focus on iconic features that make characters instantly recognizable.
- Add magical elements to bring your scenes to life.
- Don’t be afraid to put your own artistic spin on the Harry Potter universe.
With practice and patience, you’ll be creating spellbinding Harry Potter fan art in no time. Remember, every great wizard started as a first-year student, and every great artist began with a single sketch. So grab your pencil (or wand), and start your magical art journey today!
“Happiness can be found, even in the darkest of times, if one only remembers to turn on the light.” – Albus DumbledoreAnd remember, in the world of art, you have the power to create your own magic. So let your imagination soar, and bring the wonder of Harry Potter to life on paper!

Hello, I’m Matthew, an author at GenRealRedar, where I explore the dynamic worlds of Lifestyle, Tech, Gaming, and Travel. My articles are designed to offer insightful and engaging content, breaking down complex topics into easily digestible reads for a broad audience. Stay tuned on GenRealRedar.com for fresh perspectives and the latest updates on all things tech, lifestyle, and beyond.