
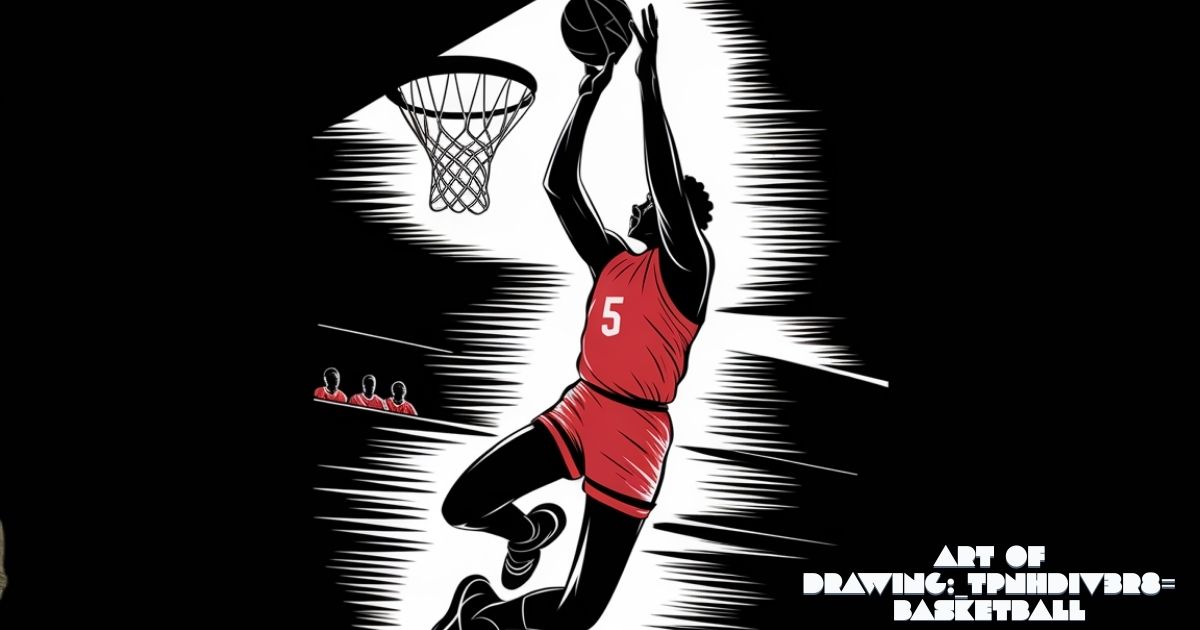
Are you ready to slam dunk your way into the world of basketball art? Whether you’re a hoops fanatic or just love to sketch, this comprehensive guide will teach you how to master the art of drawing:_tpnhdiv3r8= basketball.
From basic techniques to advanced tips, we’ll cover everything you need to know to create stunning basketball artwork that’ll make your friends say “Wow!” So grab your pencils, and let’s hit the court – er, sketchpad!
What is Drawing:_tpnhdiv3r8= Basketball? An Easy Explanation
Drawing:_tpnhdiv3r8= basketball isn’t just about sketching a round ball with some lines on it. It’s about capturing the energy, movement, and excitement of the game on paper.
Basketball art can include everything from realistic portraits of famous players to dynamic action scenes of a game-winning shot. Why do people draw:_tpnhdiv3r8= basketball? For some, it’s a way to express their love for the sport.
For others, it’s a chance to improve their artistic skills by tackling challenging subjects like human anatomy and perspective. Whatever your reason, drawing:_tpnhdiv3r8= basketball can be a fun and rewarding hobby.
There are many styles you can explore in basketball art:
- Realistic renderings
- Cartoon-style illustrations
- Abstract interpretations
- Comic book-inspired action scenes
The sky’s the limit when it comes to creativity in drawing:_tpnhdiv3r8= basketball!
Tools You Need for Drawing:_tpnhdiv3r8= Basketball
Before you start your journey to become the next great basketball artist, you’ll need the right tools. Here’s a list of essential supplies:
- Pencils: A range of graphite pencils (2H to 6B) for sketching and shading
- Erasers: Both kneaded and rubber erasers for corrections and highlights
- Paper: Smooth drawing paper or sketchbooks (at least 80 lb weight)
- Blending tools: Tortillons or blending stumps for smooth shading
- Ruler: For straight lines and proportions
Optional advanced tools:
- Colored pencils or markers for adding color
- Fine-tip pens for inking
- Drawing tablet for digital art
For our USA readers, you can find quality art supplies at stores like Blick Art Materials, Jerry’s Artarama, or even your local craft store.
How to Start Drawing:_tpnhdiv3r8= Basketball for Beginners
Starting your basketball drawing journey doesn’t have to be intimidating. Let’s break it down into simple steps:
- Begin with basic shapes: Every great basketball drawing starts with simple forms. Practice drawing circles for the ball, cylinders for arms and legs, and ovals for heads.
- Warm up with sketching exercises: Before diving into a detailed drawing, spend 5-10 minutes doing quick sketches of basketballs, hoops, or stick figure players in action poses.
- Study proportions: Understanding the size relationships between different elements is crucial. A regulation basketball is about 9.5 inches in diameter, while a hoop is 18 inches across. Keep these ratios in mind as you draw.
- Start simple and build complexity: Don’t try to create a masterpiece right away. Begin with simple drawings of basketballs or empty courts, then gradually add players and more details as you improve.
Remember, every artist started as a beginner. The key is to practice regularly and not get discouraged. Your skills in drawing:_tpnhdiv3r8= basketball will improve with time and patience.
Step-by-Step Guide to Drawing a Basketball
Let’s put our skills to the test and draw a realistic basketball. Follow these steps:
- Sketch the initial circle: Use light pencil strokes to draw a perfect circle. Don’t worry if it’s not perfect – you can refine it later.
- Add panel lines: Basketballs typically have eight panels. Draw two perpendicular lines through the center of your circle, then add curved lines to create the characteristic basketball pattern.
- Create texture: Add small dots all over the surface to represent the ball’s pebbled texture.
- Apply shading for a 3D effect: Decide where your light source is coming from, then shade the opposite side of the ball darker. Use a blending tool to create smooth gradients.
- Add highlights: Erase small areas on the “light” side of the ball to create highlights, giving it a shiny, realistic look.
- Refine details: Darken the panel lines and add any brand logos or text if desired.
With practice, you’ll be able to draw basketballs that look good enough to bounce right off the page!
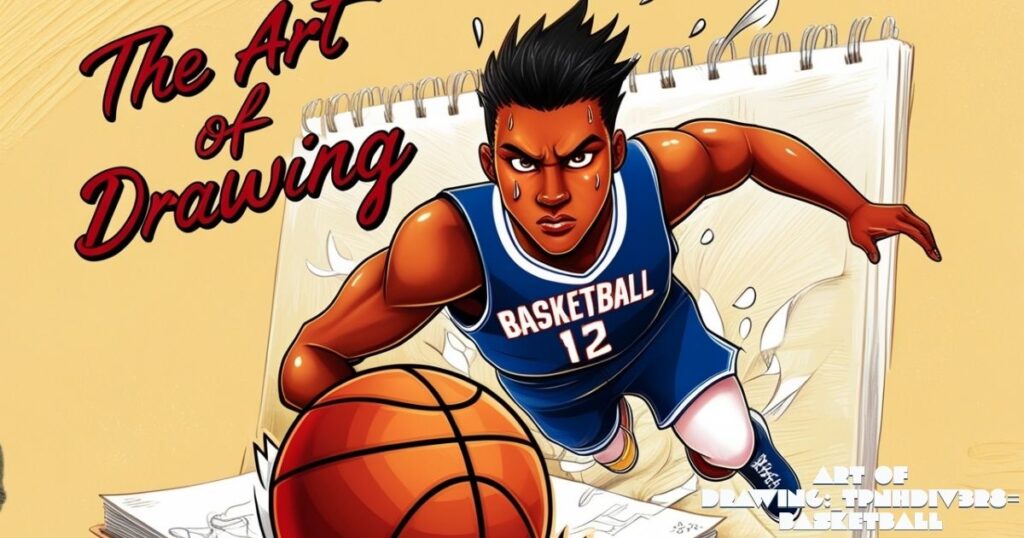
Drawing:_tpnhdiv3r8= Basketball Players: Easy Tips for New Artists
Now that you’ve mastered the ball, let’s move on to the players. Drawing human figures can be challenging, but with these tips, you’ll be sketching like a pro in no time:
- Start with a stick figure: Begin with a simple stick figure to get the pose right. This will be the skeleton of your drawing.
- Add basic shapes: Use circles for joints, ovals for the head and torso, and cylinders for limbs.
- Refine the anatomy: Gradually add muscles and define the body shape. Remember, basketball players are often tall and athletic.
- Add clothing and equipment: Draw the player’s uniform, including jersey numbers and team logos. Don’t forget the shoes and any accessories like headbands or arm sleeves.
- Focus on facial expressions: A player’s face can convey intense concentration or the thrill of victory. Practice different expressions to bring your characters to life.
- Pay attention to hands: Hands are crucial in basketball. Study how players hold the ball and position their fingers when shooting or dribbling.
Remember, practice makes perfect. Try drawing players in different poses – dribbling, shooting, dunking – to build your skills and create dynamic basketball artwork.
Click For More Information: Drawing:acotuuvra54= harry potter: A Magical Art Journey
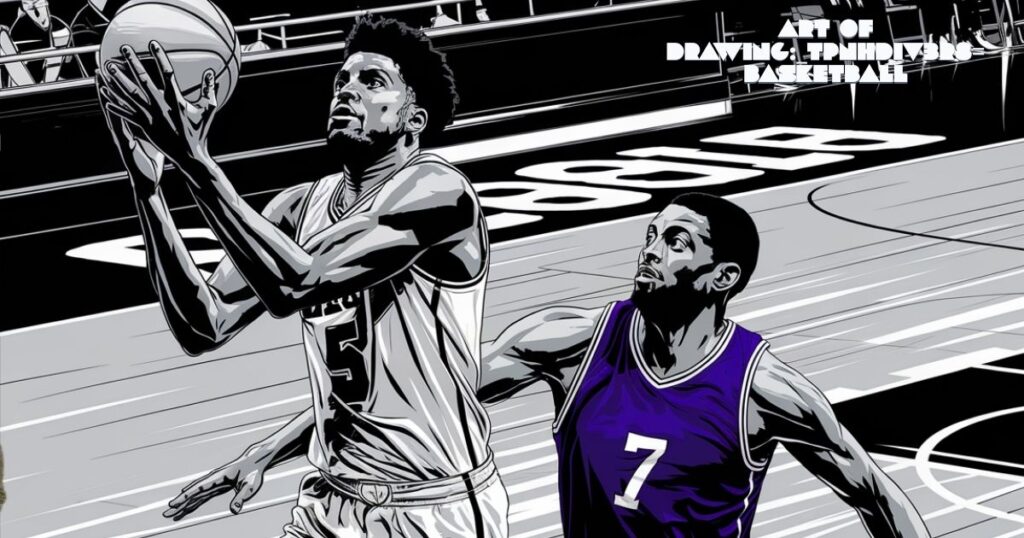
How to Add Movement in Your Drawing:_tpnhdiv3r8= Basketball Art

Static drawings are fine, but to truly capture the essence of basketball, you need to convey motion. Here are some techniques to make your drawings come alive:
- Use action lines: Add curved lines behind a player or ball to show the direction of movement.
- Blur backgrounds: Keep your main subject in focus, but lightly blur the background to create a sense of speed.
- Exaggerate poses: Slightly elongate limbs or emphasize the bend in joints to make actions more dynamic.
- Draw multiple frames: Create a series of drawings showing different stages of a movement, like a jump shot from start to finish.
- Incorporate diagonals: Diagonal lines in your composition can create a sense of instability and motion.
Here’s a quick tip: When drawing a player in motion, imagine a line of action running through their body. This imaginary line should curve to show the flow of movement, making your drawing more dynamic and realistic.
Simple Techniques for Shading in Drawing:_tpnhdiv3r8= Basketball
Shading is what brings your drawing:_tpnhdiv3r8= basketball to life, adding depth and dimensionality. Here are some techniques to try:
- Cross-hatching: Create texture and shadow by drawing intersecting sets of parallel lines.
- Stippling: Build up areas of shadow using small dots. The closer together the dots, the darker the shade.
- Blending: Use a tortillon or your finger to smooth out pencil strokes for a soft, realistic look.
- Layering: Gradually build up layers of graphite, starting light and getting progressively darker.
When shading basketball-specific elements:
- For the ball, use circular strokes to follow its curved surface
- On uniforms, consider how fabric folds and creases affect light and shadow
- For skin, use soft, smooth shading to create a natural look
Remember, the key to great shading is patience and practice. Take your time and don’t be afraid to experiment with different techniques!
How to Draw the Perfect Basketball Court in Drawing:_tpnhdiv3r8= Basketball
A well-drawn court can be the perfect backdrop for your basketball scenes. Here’s how to nail it:
- Start with the boundaries: Draw the sidelines and baselines first. A regulation NBA court is 94 feet long and 50 feet wide.
- Add the key area: This rectangular area extends 16 feet from the baseline. Don’t forget the free-throw line!
- Draw the three-point line: In the NBA, this arc is 23 feet 9 inches from the center of the basket.
- Include the center circle: This circle, where tip-offs occur, has a 6-foot radius.
- Add details: Include the basketball hoop, backboard, and net. Don’t forget smaller details like team logos or sponsor advertisements.
Pro tip: Use a ruler and light pencil strokes for your initial lines. This will ensure your court is perfectly straight and proportional.
How to Make Your Drawing:_tpnhdiv3r8= Basketball Look Realistic
Want your basketball art to look like it could jump off the page? Try these tips:
- Use reference photos: Always work from real images to capture accurate details.
- Pay attention to textures: The pebbled surface of a basketball, the shine of the court, the fabric of uniforms – all these textures add realism.
- Master light and shadow: Understand where your light source is coming from and how it affects everything in your scene.
- Add reflections: Basketballs are often shiny, and courts can be reflective. Including these details can really elevate your work.
- Don’t forget atmospheric perspective: Objects in the background should be lighter and less detailed than those in the foreground.
Remember, realism comes with practice. Don’t get discouraged if your first attempts don’t look photo-realistic. Keep at it, and you’ll see improvement with each drawing!
Common Mistakes to Avoid When Drawing:_tpnhdiv3r8= Basketball
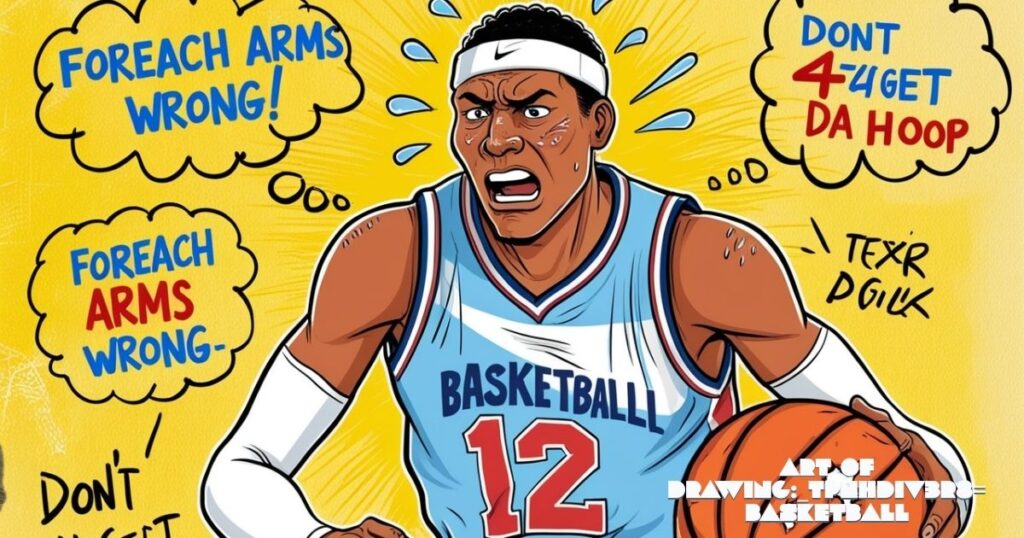
Even experienced artists make mistakes. Here are some common pitfalls to watch out for:
- Incorrect proportions: Make sure your players don’t have tiny heads or massive hands.
- Flat drawings: Use shading and perspective to add depth to your work.
- Stiff poses: Basketball is all about movement. Avoid rigid, unnatural poses.
- Ignoring perspective: Remember that objects closer to the viewer should be larger and more detailed.
- Overworking: Know when to stop. Sometimes, less is more in art.
By being aware of these common mistakes, you can improve your basketball art and create more compelling drawings.
Fun Ideas to Experiment with in Drawing:_tpnhdiv3r8= Basketball
Ready to take your basketball art to the next level? Try these creative ideas:
- Create basketball-themed characters: Design your own mascot or superhero inspired by basketball.
- Illustrate famous plays: Recreate iconic moments from basketball history in your own style.
- Design fantasy courts: Let your imagination run wild and create impossible, gravity-defying basketball courts.
- Combine basketball with other themes: How about basketball-playing aliens or a steampunk-inspired game?
- Explore different mediums: Try watercolor, digital art, or even sculpture to depict basketball scenes.
Remember, art is about expressing yourself. Don’t be afraid to think outside the box and create something truly unique!
How Regular Practice Can Improve Your Drawing:_tpnhdiv3r8= Basketball Skills
Like any skill, drawing:_tpnhdiv3r8= basketball improves with practice. Here’s how to make the most of your practice sessions:
- Set a regular schedule: Try to draw for at least 30 minutes every day.
- Keep a sketchbook: Carry it with you and sketch whenever you have a free moment.
- Challenge yourself: Try drawing complex poses or detailed court scenes to push your skills.
- Join an art community: Share your work online and get feedback from other artists.
- Study the masters: Look at work by sports illustrators and artists who specialize in basketball art for inspiration.
Remember, every great artist started as a beginner. With consistent practice and dedication, you’ll see your basketball art skills improve dramatically over time.
Click For More Information: Animated:xqhhhbn4nc8= happy birthday gif
Conclusion
Congratulations! You’ve just taken your first steps towards mastering the art of drawing:_tpnhdiv3r8= basketball. From understanding the basics to creating dynamic, realistic scenes, you now have the tools to create amazing basketball artwork.
Remember, the key to improvement is practice, patience, and persistence. Don’t be discouraged if your first attempts don’t look like professional sports illustrations. Every sketch you make is a step towards becoming a better artist.
So grab your pencils, find some inspiring basketball photos, and start drawing! Who knows? Your next sketch could be the start of an exciting career in sports art. And don’t forget to share your creations with us – we’d love to see how you’ve applied these techniques in your own unique way.
Now, get out there and show the world your slam-dunk drawing skills!
FAQ’s
How do you draw a basketball easy?
To draw a basketball easily:
- Draw a circle
- Add two perpendicular lines through the center
- Draw curved lines to create the panel pattern
- Add texture with small dots
- Shade one side for a 3D effect
How do you hit a draw in 5 minutes?
For a quick basketball sketch:
- Draw a simple circle (30 seconds)
- Add basic panel lines (1 minute)
- Sketch a rough court or player silhouette (2 minutes)
- Add basic shading (1 minute)
- Refine details if time allows (30 seconds)
How can I learn basketball at home for beginners?
To learn basketball at home:
- Watch tutorial videos online
- Practice dribbling drills in your driveway or backyard
- Work on your shooting form using a wall or hoop
- Improve your fitness with basketball-specific exercises
- Study professional games to understand strategies
How should kids shoot a basketball?
Kids should shoot a basketball by:
- Positioning their feet shoulder-width apart
- Holding the ball with their shooting hand behind and other hand on the side
- Bending their knees and elbow
- Extending their arm and following through with their wrist
- Aiming for the back of the rim
How do you draw a real basket?
To draw a realistic basketball hoop:
- Start with the backboard (usually rectangular)
- Add the square target behind the rim
- Draw the circular rim
- Sketch the net hanging from the rim
- Add details like bolts and padding
- Shade for a 3D effect
How to draw a cute girl for kids?
To draw a cute cartoon girl playing basketball:
- Start with a circle for the head
- Add a smaller circle below for the body
- Draw stick arms and legs
- Add simple facial features (big eyes, small nose, smile)
- Draw pigtails or a ponytail
- Sketch a basketball in her hands
- Add simple clothes (t-shirt, shorts)
How do you draw a sports ball?
To draw various sports balls:
- Start with a basic circle
- Add sport-specific patterns (e.g., panels for soccer, laces for football)
- Use appropriate colors (e.g., orange for basketball, white with red stitching for baseball)
- Shade to create a 3D effect
- Add any necessary logos or text
Remember, practice makes perfect! Keep drawing different sports balls to improve your skills.

Hello, I’m Matthew, an author at GenRealRedar, where I explore the dynamic worlds of Lifestyle, Tech, Gaming, and Travel. My articles are designed to offer insightful and engaging content, breaking down complex topics into easily digestible reads for a broad audience. Stay tuned on GenRealRedar.com for fresh perspectives and the latest updates on all things tech, lifestyle, and beyond.